
How to Convert HEIC to JPG on iPhone (Free, No App Needed)
Quick answer: Use the free SavyTools HEIC to JPG Converter in your browser, no app needed. Add up to 10 .heic or .heif files at a time, convert them, and download the JPGs. Renaming a file from .heic to .jpg is NOT a conversion, the file inside is still HEIC.
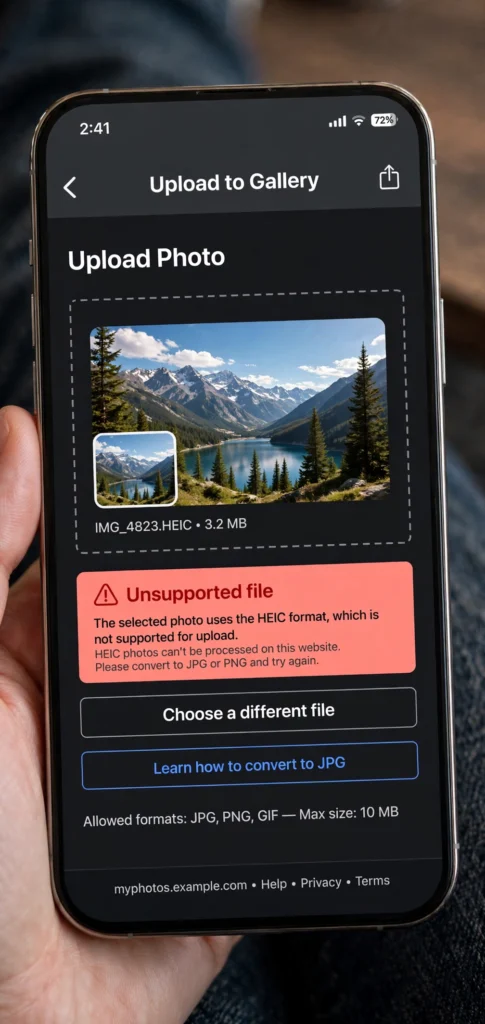
Your iPhone photo looks perfect on your phone — then a website, a Windows PC, or a friend’s Android phone refuses to open it. The file ends in .heic, and that is the whole problem.
HEIC is the format iPhones use when the camera is set to High Efficiency. It saves storage, but not every app and website knows what to do with it. JPG, by contrast, opens almost everywhere. You do not need a paid app to fix this. Here are the free ways that actually work, and the one shortcut that does not.
Note: real HEIC conversion on the SavyTools tool is still unverified — no sample HEIC file was tested (2026-11-02) — so this guide does not promise metadata preservation or perfect conversion. Keep your original HEIC file.
Method 1: Convert the photo in your browser (best for photos you already have)
If the photo is already on your phone or computer, this is the fastest fix.
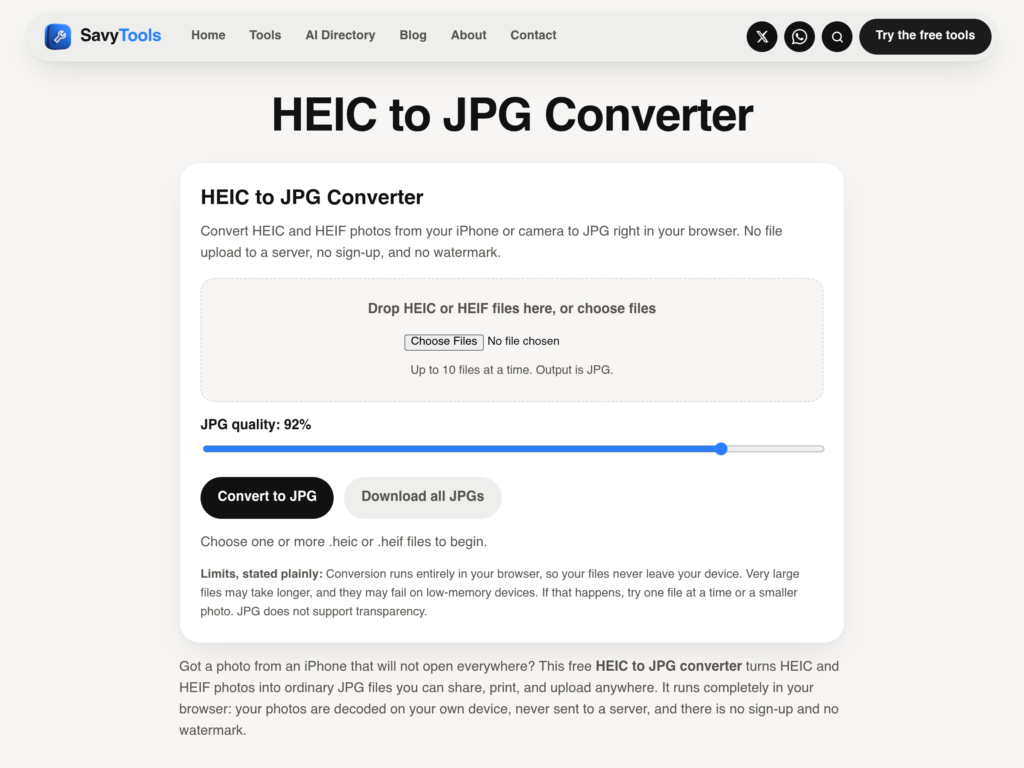
- Open the free HEIC to JPG Converter.
- Drop in your .heic or .heif files, or choose files — up to 10 at a time.
- Leave the quality at 92% for everyday sharing, or adjust it if you want a smaller file.
- Click Convert to JPG, then download each JPG, or download them all at once.
It runs completely in your browser: your photos are decoded on your own device, never sent to a server, and there is no sign-up and no watermark. Keep your original HEIC file, because JPG is a lossy format — a small amount of detail can be lost, especially at lower quality settings.
One honest limit: very large files may take longer, and they may fail on low-memory phones or tablets. If that happens, try one file at a time, or use one of the built-in methods below. JPG also does not support transparency, so transparent areas will not stay transparent.
Once you have a JPG, you can do more with it in the browser too — turn several JPGs into one PDF with the JPG to PDF tool, or shrink a JPG that is still too big with the Image Compressor. Our step-by-step guide to making a PDF from iPhone photos is here: https://savytools.com/how-to-convert-jpg-to-pdf-on-iphone-free-no-app-needed/
Method 2: Stop your iPhone saving HEIC in the first place
This does not convert photos you already have, but it stops the problem coming back.
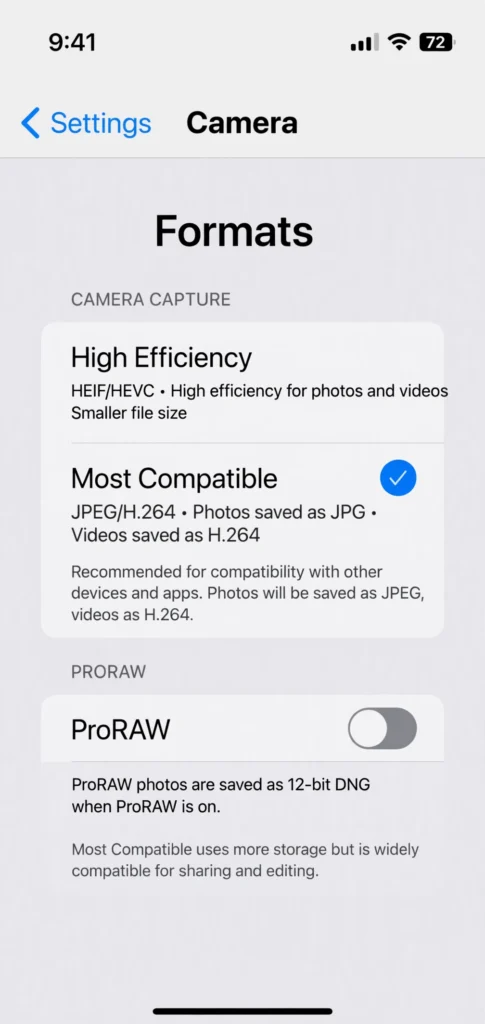
- Open Settings.
- Tap Camera.
- Tap Formats.
- Select Most Compatible.
From now on, new photos save as JPG and new videos as H.264. The trade-off is storage: a JPG takes up roughly twice the space of the same photo in HEIC, so only switch if you regularly share photos with non-Apple devices or upload them to sites that reject HEIC.
Method 3: Let your iPhone convert when you transfer to a computer
If you copy photos to a Mac or PC with a cable, check this setting first:
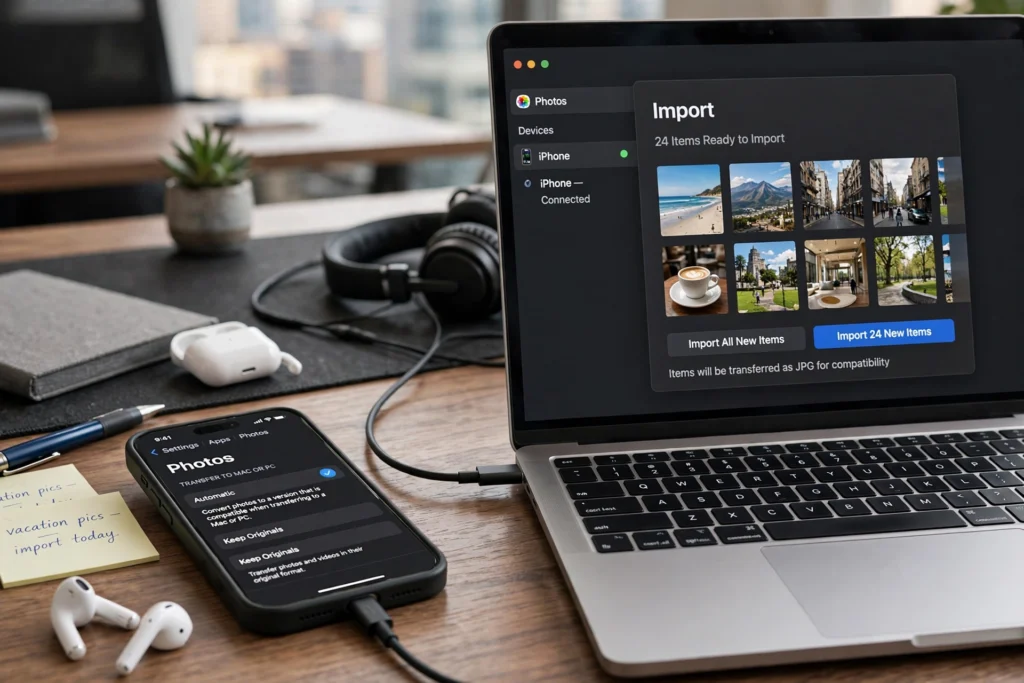
- Open Settings, then Photos (on newer iOS, Settings → Apps → Photos).
- Scroll to Transfer to Mac or PC.
- Choose Automatic instead of Keep Originals.
With Automatic, photos copied over USB arrive as JPG. With Keep Originals, they arrive as HEIC, unchanged.
Here is the catch most guides skip: Automatic does NOT convert everything. Sharing by AirDrop to another Apple device, sending by iMessage, or syncing through iCloud Photo Library keeps the photo as HEIC. Automatic mainly helps with a wired transfer to a computer. If you need a JPG for a website or a Windows user, convert it with Method 1 instead of assuming the transfer did it.
On Windows, if a HEIC file still will not open, Windows needs the HEIF Image Extensions from the Microsoft Store — or, simpler, convert the file to JPG first and skip the extension entirely.
What NOT to do: just rename the file
Renaming photo.heic to photo.jpg does not convert anything. The file inside is still HEIC, so most apps will still refuse it, or show a broken image. Change the contents, not just the name — use one of the methods above.
Which method should you use?
| A photo you already have, and you need a JPG now | Browser converter (Method 1) |
| You keep hitting this problem with new photos | Most Compatible (Method 2) |
| You copy photos to a computer by cable | Automatic transfer (Method 3) |
| You share to another iPhone, or use iCloud | Do not rely on transfer — convert first (Method 1) |
| A Windows PC will not open the file | Convert to JPG, or install the HEIF extensions |
Troubleshooting
A website says the file type is not supported. Convert it to JPG first (Method 1), then upload the JPG. Renaming the file will not fix this.
Conversion fails on a very large photo. Try one file at a time, on a device with more free memory, or use the built-in transfer method instead.
Your new photos are still HEIC after changing the setting. Most Compatible only affects photos taken after the change. Older photos stay HEIC and still need converting.
The JPG looks slightly different. JPG compression can lose a little detail. Keep the original HEIC, and use the 92% default for everyday sharing rather than dropping the quality right down.
Frequently Asked Questions
Can I convert HEIC to JPG on iPhone without an app? Yes. The browser converter works in Safari on your iPhone, no App Store download needed, and the Settings methods above are built into iOS.
Is the SavyTools HEIC converter really free? Yes. No sign-up, no watermark, up to 10 files at a time, and your photos are not uploaded to a server.
Does converting to JPG lose quality? A little, because JPG is lossy. The default 92% quality keeps photos looking sharp for sharing and printing. Keep the original if you need the highest quality later.
Will changing to Most Compatible convert my old photos? No. It only changes what the camera saves from that moment on.
Why does my photo open on my iPhone but not on Windows? Windows does not open HEIC by default without the HEIF extensions. A JPG opens on Windows, Android, and the web without any extra software.
That is the whole fix: convert the photos you have in the browser, switch the camera setting if you keep hitting the problem, and never trust a renamed file. Your photos will open wherever you send them.
Related format fix: PNG to JPG Converter.
