
How to Compress Images Without Losing Quality
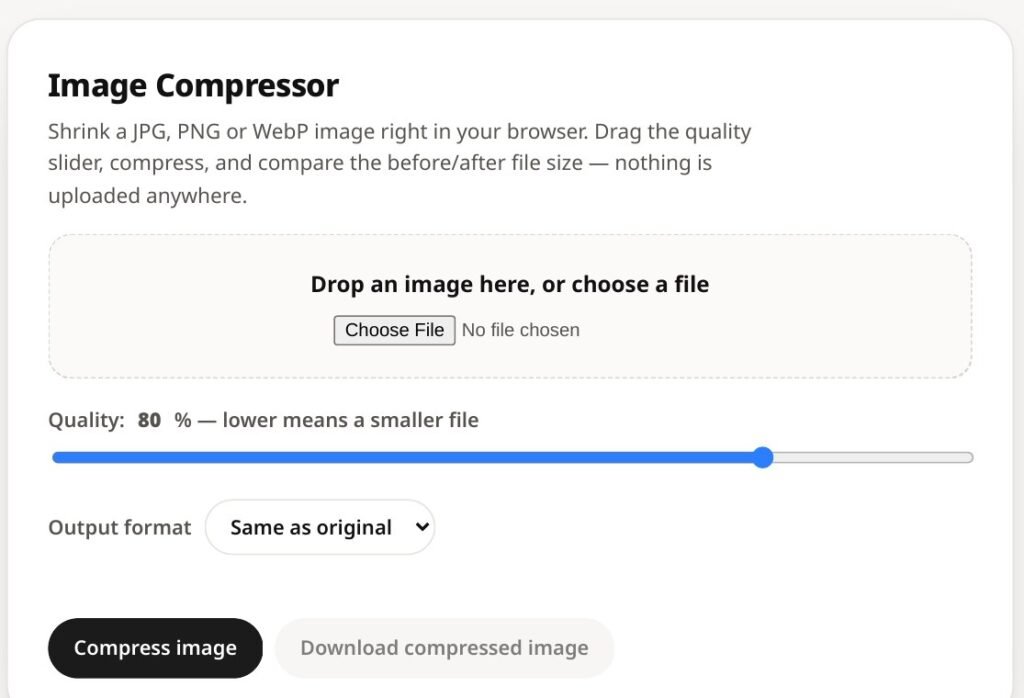
Quick answer: Yes, you can shrink an image a lot without any visible loss. Use lossy compression at 75 to 85 percent quality, which is the sweet spot for photos. Only lossless compression loses nothing at all, but a careful lossy setting looks the same at normal viewing size while the file gets much smaller. Start from the original file, pick the format first, then lower the quality a little at a time until the size fits your target. The free SavyTools Image Compressor does this in your browser, with no sign up and nothing uploaded.
What “without losing quality” really means
Lossless compression loses nothing. Every pixel stays exactly as it was. The file gets smaller, but usually not by much. PNG is the common lossless choice, and the SavyTools tool offers PNG (lossless) as an output format.
Lossy compression throws away some detail the eye barely notices. The file gets much smaller, and at moderate settings the difference is hard to see with the naked eye. JPG and WebP work this way.
At very low quality, lossy compression shows. Photos get soft, skies and faces get blocky patches, and fine text turns fuzzy. That is why the quality setting matters more than the tool you use.
So the honest promise is this. You can compress without any visible loss, but only if you stay in the right quality band and start from the original file.
Compressing is not resizing, and it is not changing format
Compressing changes the file size at the same dimensions. A 4000 by 3000 photo stays 4000 by 3000, but the file might drop from 5 MB to 400 KB.
Resizing changes the pixel dimensions. A 4000 by 3000 photo becomes 1920 by 1440, for example. If your image is far too big in pixels, resize it first. The SavyTools guide on how to resize an image for Instagram explains the right pixel sizes for each post type.
Changing format changes the file type, for example PNG to JPG or JPG to WebP. A photo saved as PNG is often much larger than the same photo saved as JPG, because PNG is built for graphics, not photos. The SavyTools Image Format Converter tool handles that job.
Rule of thumb. If only the file is too big, compress. If the pixels are too big, resize. If the format is wrong for the content, convert. Often you need two of the three, in that order.
The order that works
- Pick the format first. Photos belong in JPG or WebP. Simple graphics, logos and screenshots with sharp edges belong in PNG. If you have a PNG photo, converting it to JPG often shrinks it more than any quality slider will. The SavyTools PNG to JPG guide walks through that step.
- Resize only if the pixels are far too big. A photo straight from a phone is often 4000 pixels wide, while a web page shows it at 1200 pixels or less. Shrinking the pixels first makes the compression step easier. Do not shrink pixels when only the file is too big.
- Lower the quality a little. Start at the default 80 percent on the SavyTools tool and go down in small steps. Check the output size after each step.
- Compare at 100 percent zoom. Open the compressed image at full size and look at faces, skies and fine text. If it looks the same as the original at normal viewing size, you are done. If it looks soft or blocky, go back up a little.
Summary. Format first, resize only when needed, quality last, and always compare at full zoom before you use the result.
How to compress an image with SavyTools
The SavyTools Image Compressor is free, needs no sign up, and runs entirely in your browser. Nothing is uploaded anywhere. It shows the before and after file size for every image, so you can see exactly what you saved.
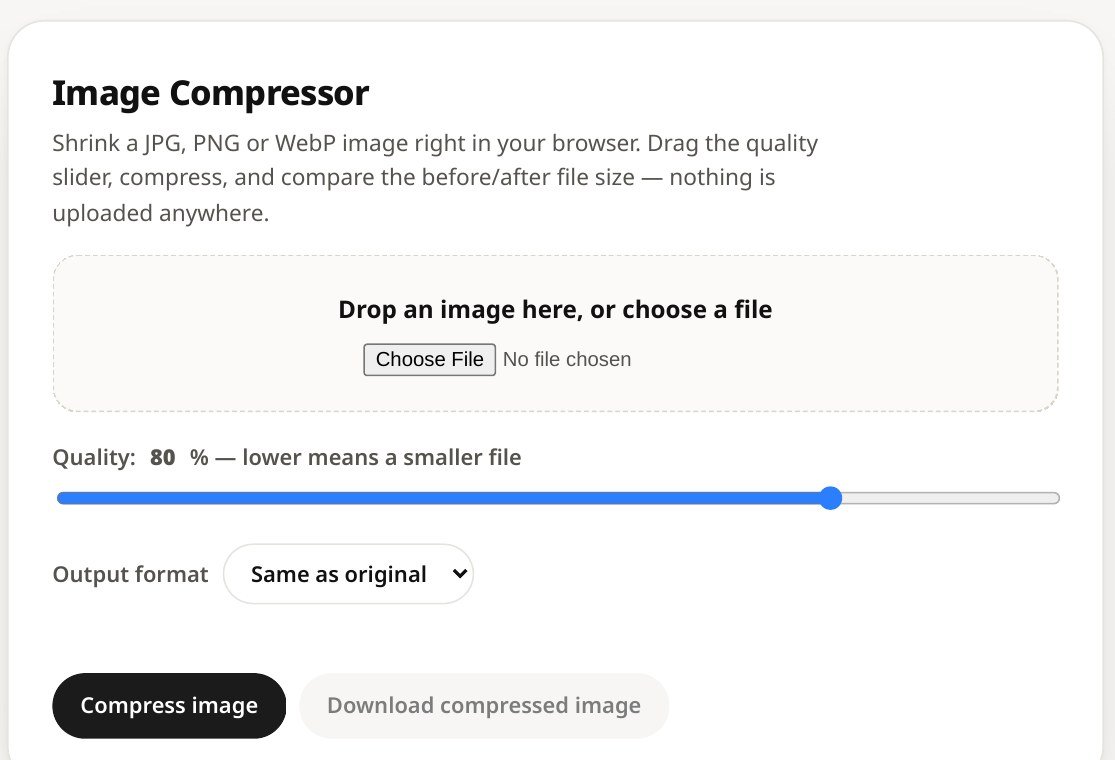
- Upload your image. The tool accepts JPG, PNG, WebP and AVIF. Drag the file in or pick it from your device.
- Adjust the quality setting. The slider starts at 80 percent, which is a good starting point for most photos. Lower means a smaller file.
- Compress and compare. The tool shows the before and after file sizes side by side, so you can judge the trade off.
- Download the smaller image and check it still looks good. Open it at full size before you upload it anywhere.
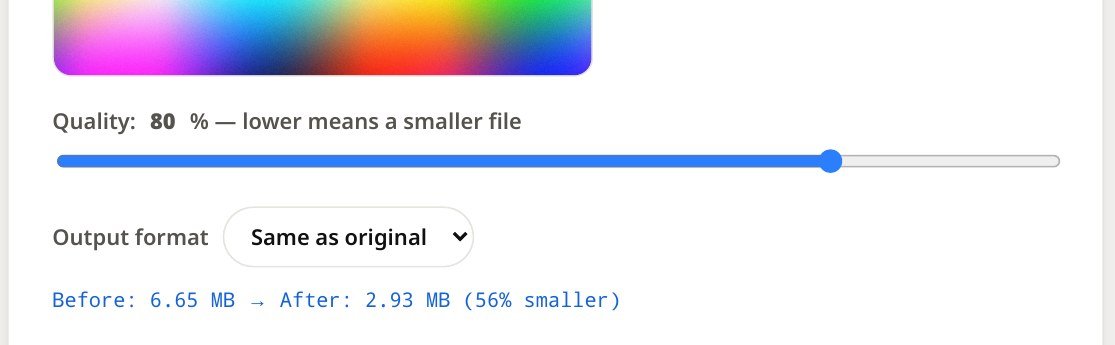
Output format choices. You can keep the same format as the original, or pick JPEG, WebP, or PNG (lossless). For a photo, JPEG or WebP usually gives the smallest file. For a graphic with sharp lines, PNG (lossless) keeps every edge clean.
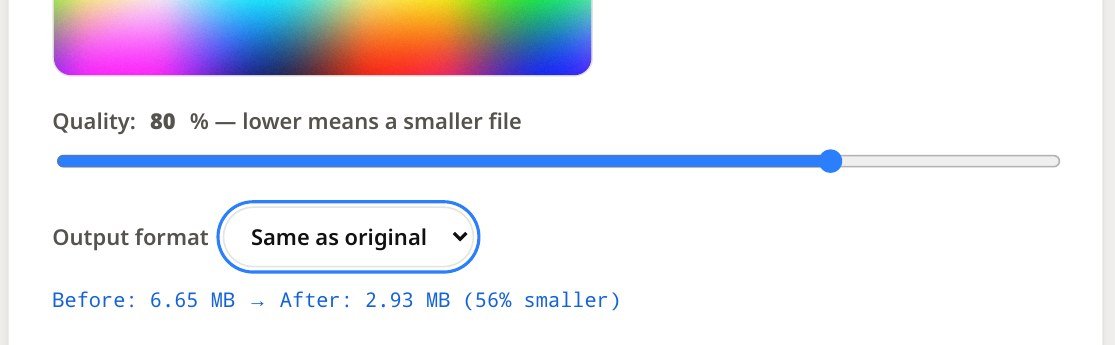
The tool page itself suggests 200KB as the target for a website upload, an email attachment or a job portal. Lower the quality gradually until the output size shown is at or below 200KB, then download that version.
Quality bands
| Quality | What to expect | Best for |
|---|---|---|
| 90 to 100 percent | Near original quality, small saving | Photos to print, or photos you plan to edit again later |
| 75 to 85 percent | The sweet spot. Most people cannot see a difference at normal viewing size, and the file is usually much smaller | Photos for websites, social media and sharing |
| 60 to 70 percent | Still good for web pages and emails. Check the result first | Web pages, emails and places where size matters |
| Below 60 percent | Blur and blocky patches start to appear, especially in skies, faces and fine text. Avoid unless size matters more than looks | Only when a strict size limit leaves no other choice |
A typical phone photo of 4 to 8 MB often drops to roughly 300 to 800 KB at around 75 percent quality after resizing to 1920 pixels wide. Your result will vary with the photo, because detailed photos compress less than simple ones. Photos usually shrink a lot. Simple graphics and screenshots shrink less, because there is less detail to remove. Start at 80 percent. If the file is still too big, step down to 75, then 70. Small steps beat one big jump.
Target sizes
| Use | Target size |
|---|---|
| Website upload | Aim for 200KB. The tool page target. Smaller images load faster, which matters for visitors on slow connections and for search rankings. |
| Email attachment | Compress first, then attach, so the mail stays small and sends fast. |
| Job portal upload | 200KB. The tool page example. Portals often reject large files, so check the size before you submit. |
| Resize first to the right pixels, then compress. The Resize guide has the exact sizes. Do not shrink pixels when only the file is too big. |
Summary. 200KB covers most website and portal uploads. For email, any clear saving helps. For Instagram, fix the pixels first and the file size second.
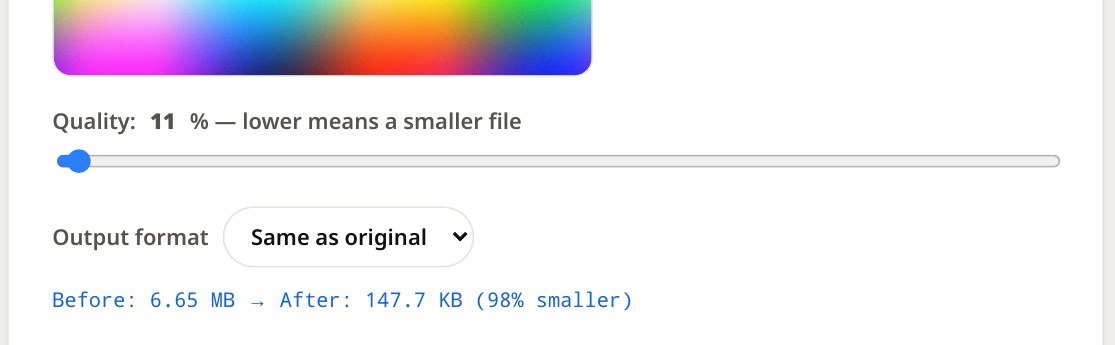
Mistakes that ruin image quality
Never compress from an already compressed copy. Always start from the original file. Every lossy save throws away a little more detail, and the loss compounds. If you compress a compressed image again, the damage doubles. Do not go below 60 percent unless a strict size limit forces you to. Below that point, skies, faces and fine text are the first things to look wrong. Do not shrink pixels when only the file is too big. Resizing is a separate job, and doing it by accident throws away detail you cannot get back. Never skip the check. Open the compressed image at 100 percent zoom and look at it before you use it. A quick look now saves an embarrassing upload later.

Why smaller images matter
Smaller images load faster. That matters most for visitors on slow connections, who may give up on a page that takes too long. Page speed also matters for search rankings. A page full of multi-megabyte photos is slower than the same page with the same photos compressed to a few hundred KB each. Email with huge attachments is slow to send and annoying to receive. A quick compress first fixes that. None of this needs paid software. The SavyTools Image Compressor is free, private and simple, and that is its real edge. It does not offer batch compression, ZIP downloads, or the smart PNG features of tools like TinyPNG, and it does not replace Photoshop. Its strength is that your images never leave your device and the job takes seconds.
FAQ: Compressing Images Without Losing Quality
Does compressing an image reduce its quality?
Lossless compression does not reduce quality at all. Lossy compression at 75 to 85 percent quality looks the same at normal viewing size for most photos, while the file gets much smaller. Very low quality settings do show softness and blocky patches, so check the result before you use it.
What quality setting should I use to compress images?
Use 75 to 85 percent for most photos. That is the sweet spot. Use 90 to 100 percent for photos you plan to print or edit again later. Use 60 to 70 percent for web pages and emails, and check the result first. Avoid going below 60 percent unless size matters more than looks.
How do I compress an image to 200KB?
Upload the image to the SavyTools Image Compressor at https://savytools.com/image-compressor/ and lower the quality gradually from the 80 percent default. Watch the output size shown after each step. When it reads at or below 200KB, download that version.
Does the SavyTools Image Compressor accept AVIF files?
Yes, the tool accepts AVIF files. But do not expect AVIF to always shrink. In a real test on 15 Nov 2026, a small already compressed AVIF file of 18.8 KB came out larger at the default quality of 80 percent, at 57.5 KB. For AVIF files, try a lower quality setting, or pick JPEG or WebP as the output format.
Can I compress many images at once?
The tool page does not show batch compression, so plan on one image at a time. Compress each image, download it, and then move on to the next one.
Will compressing change my image dimensions?
No. Compressing changes the file size at the same dimensions. Your photo keeps its width and height in pixels. If you need different dimensions, use the Image Resizer first, then compress the resized copy. The Resize guide is at https://savytools.com/how-to-resize-an-image-for-instagram/
