
How to Compress an Image Without Losing Quality (Free, No App)
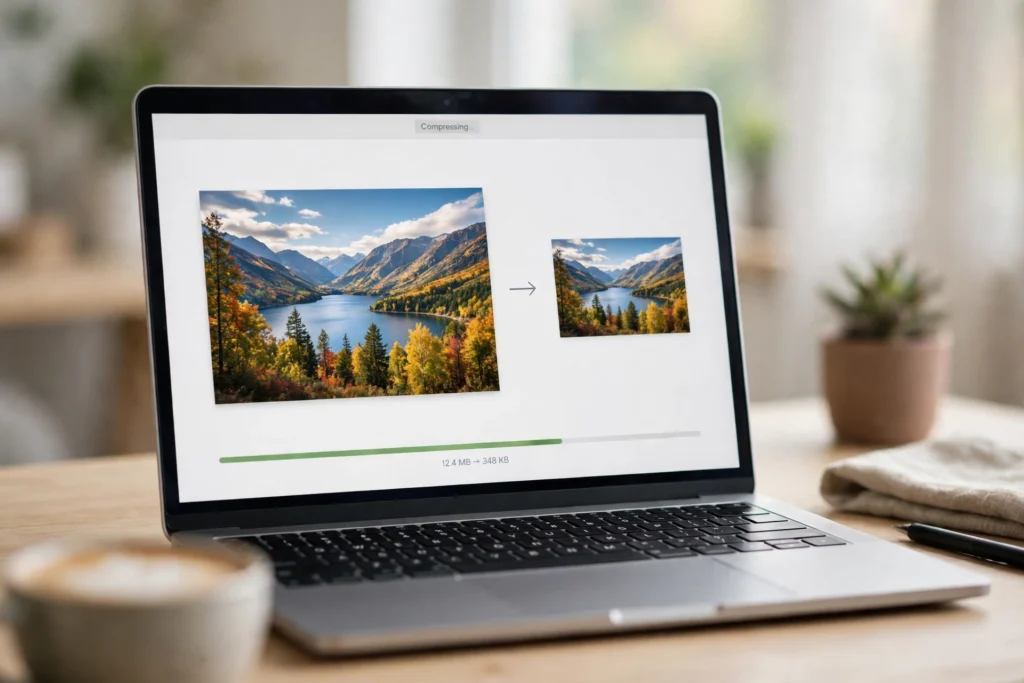
We’ve all been there. You take a beautiful photo, try to email it or upload it to a website, and suddenly you’re staring at an error: “file too large.” Your phone’s camera is the culprit — a single photo straight out of a modern iPhone or Android can easily weigh 4 or 5 MB, and a handful of them can choke an email or slow a whole webpage to a crawl. The good news is that learning how to compress an image without losing quality takes about thirty seconds, costs nothing, and needs no app at all.
I’ve shrunk thousands of images over the years — for blog posts, client emails, job applications, you name it — and the trick is simpler than most guides make it sound. You don’t need Photoshop, you don’t need to install anything, and you definitely don’t need to accept a blurry, washed-out result. Here’s the whole process, plus the mistakes that actually ruin photos, so you can get it right the first time.
What Does Compressing an Image Actually Do?
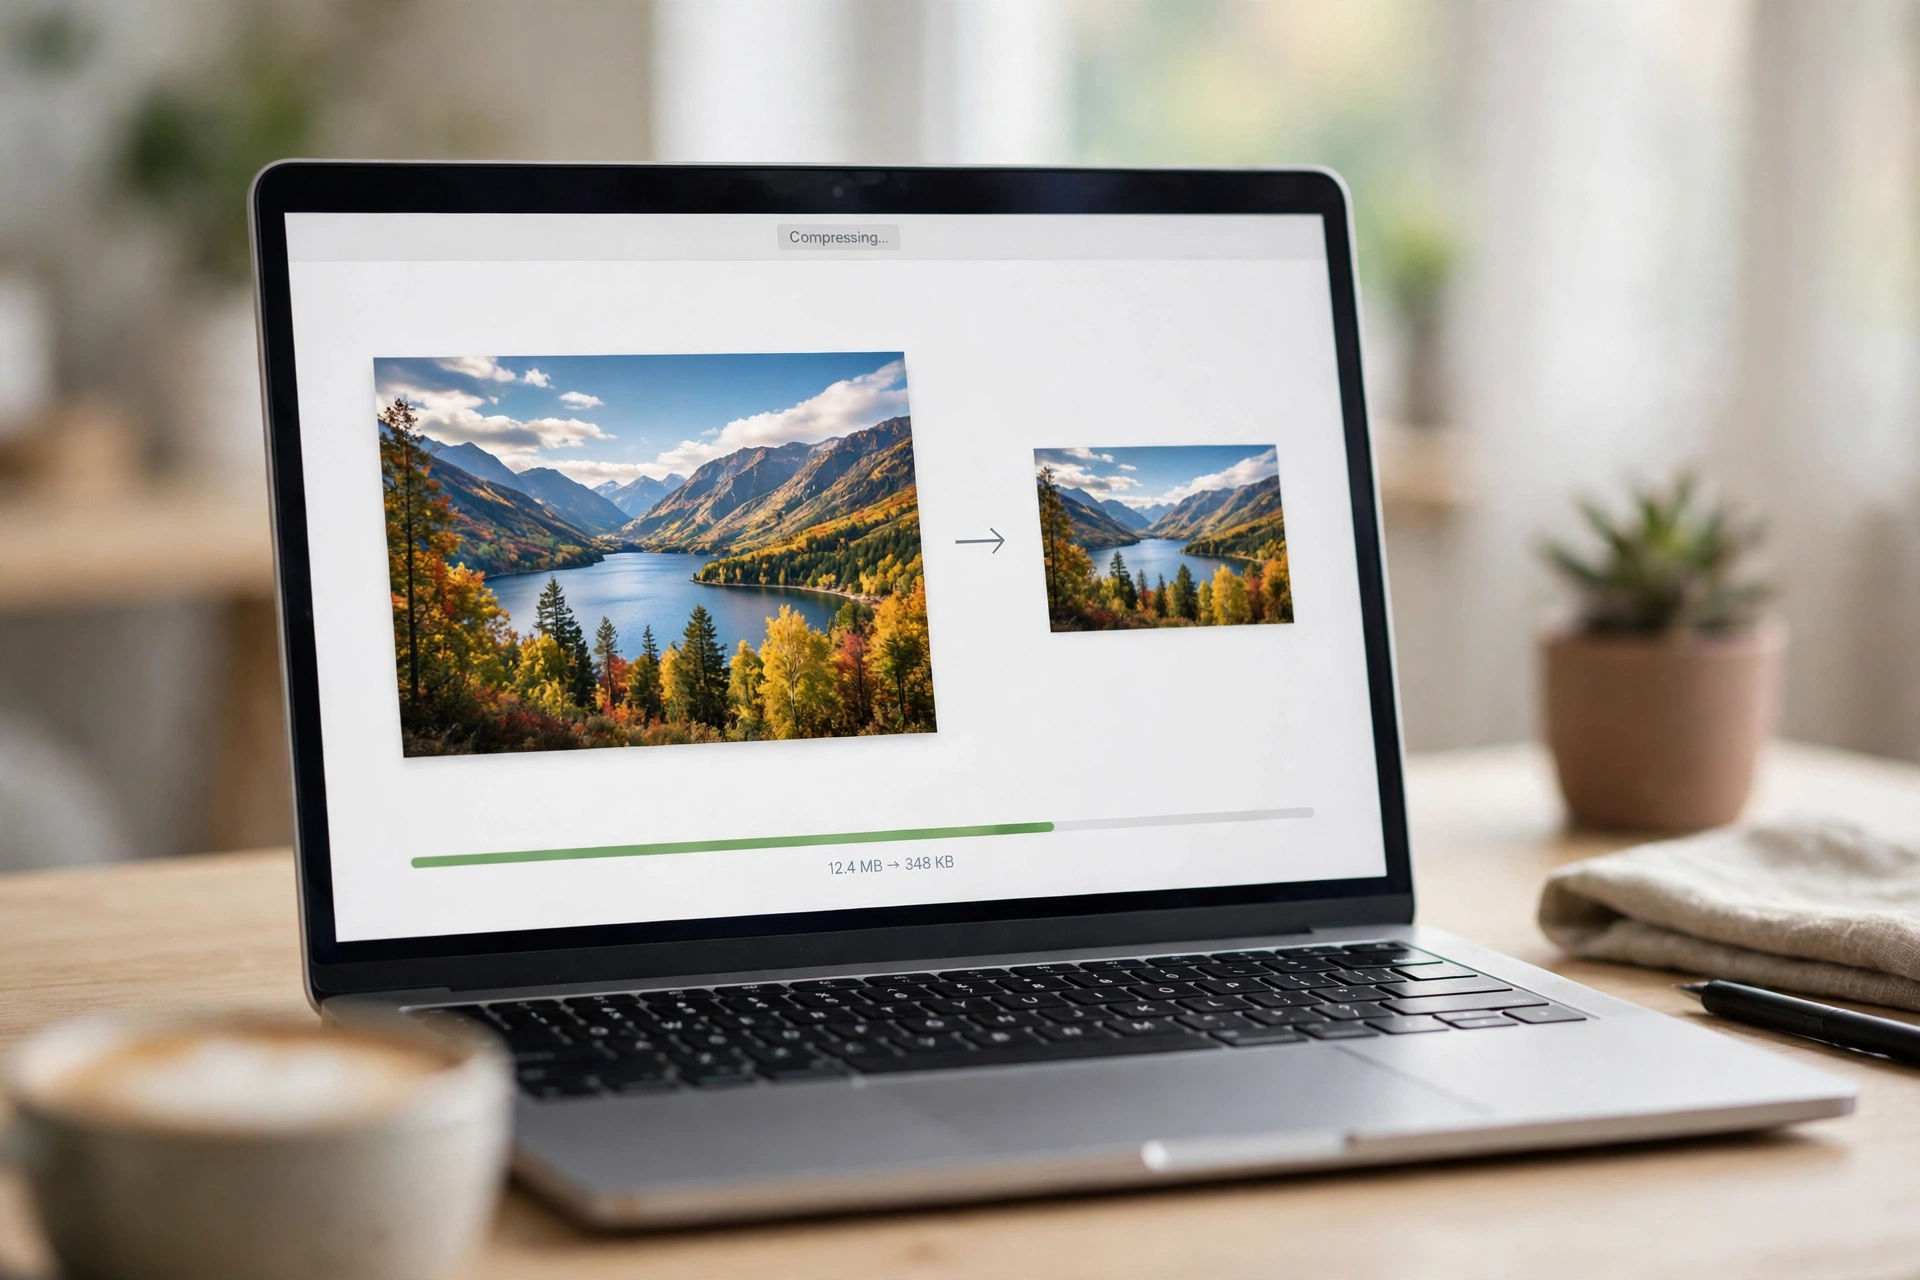
Think of an image file like a suitcase. Compression is just packing it smarter — removing the empty space and the redundant bits your eyes can’t see anyway. A photo of a blue sky, for instance, contains thousands of pixels that are nearly the same shade of blue. A compressor spots that repetition and stores it once instead of a thousand times.
There are two kinds of compression, and knowing the difference saves you from disappointment. Lossy compression (used by JPG files) throws away a little data permanently to get much smaller files — done gently, the loss is invisible. Lossless compression (used by PNG files) keeps every pixel perfect but can’t shrink things nearly as far. For photos you share online, lossy JPG compression is almost always the right call.
The important thing to understand: compression and resizing are not the same thing. Resizing changes the dimensions; compression keeps the dimensions and squeezes the file size. You can do either one alone, but combining them is how you get a photo from 5 MB down to 150 KB and still have it look great.
How to Compress an Image in 30 Seconds (Free, No App Needed)
This is the method I use most days, because it’s fast and it works on any device — Windows, Mac, iPhone, Android, Chromebook, whatever you’ve got. All you need is a browser.
- Open the free Image Compressor on SavyTools. There’s nothing to install and no account to create.
- Upload your image. Drag the file onto the page or tap to browse. JPG and PNG both work.
- Pick your compression level. If you’re not sure, start in the middle — around 70 to 80 percent quality. That’s the sweet spot where files shrink dramatically but photos still look crisp.
- Download the compressed image. That’s it. Your photo stays on your device the whole time; the compression happens right in your browser, so nothing is uploaded to a server.
- Compare the two versions. Open the original and the compressed copy side by side and zoom in. If you can’t tell them apart at normal viewing size, you’re done.
One habit worth building: always keep your original. Compress a copy, not the only version you have. Storage is cheap; a once-in-a-lifetime photo is not.
How to Compress an Image on iPhone Without an App
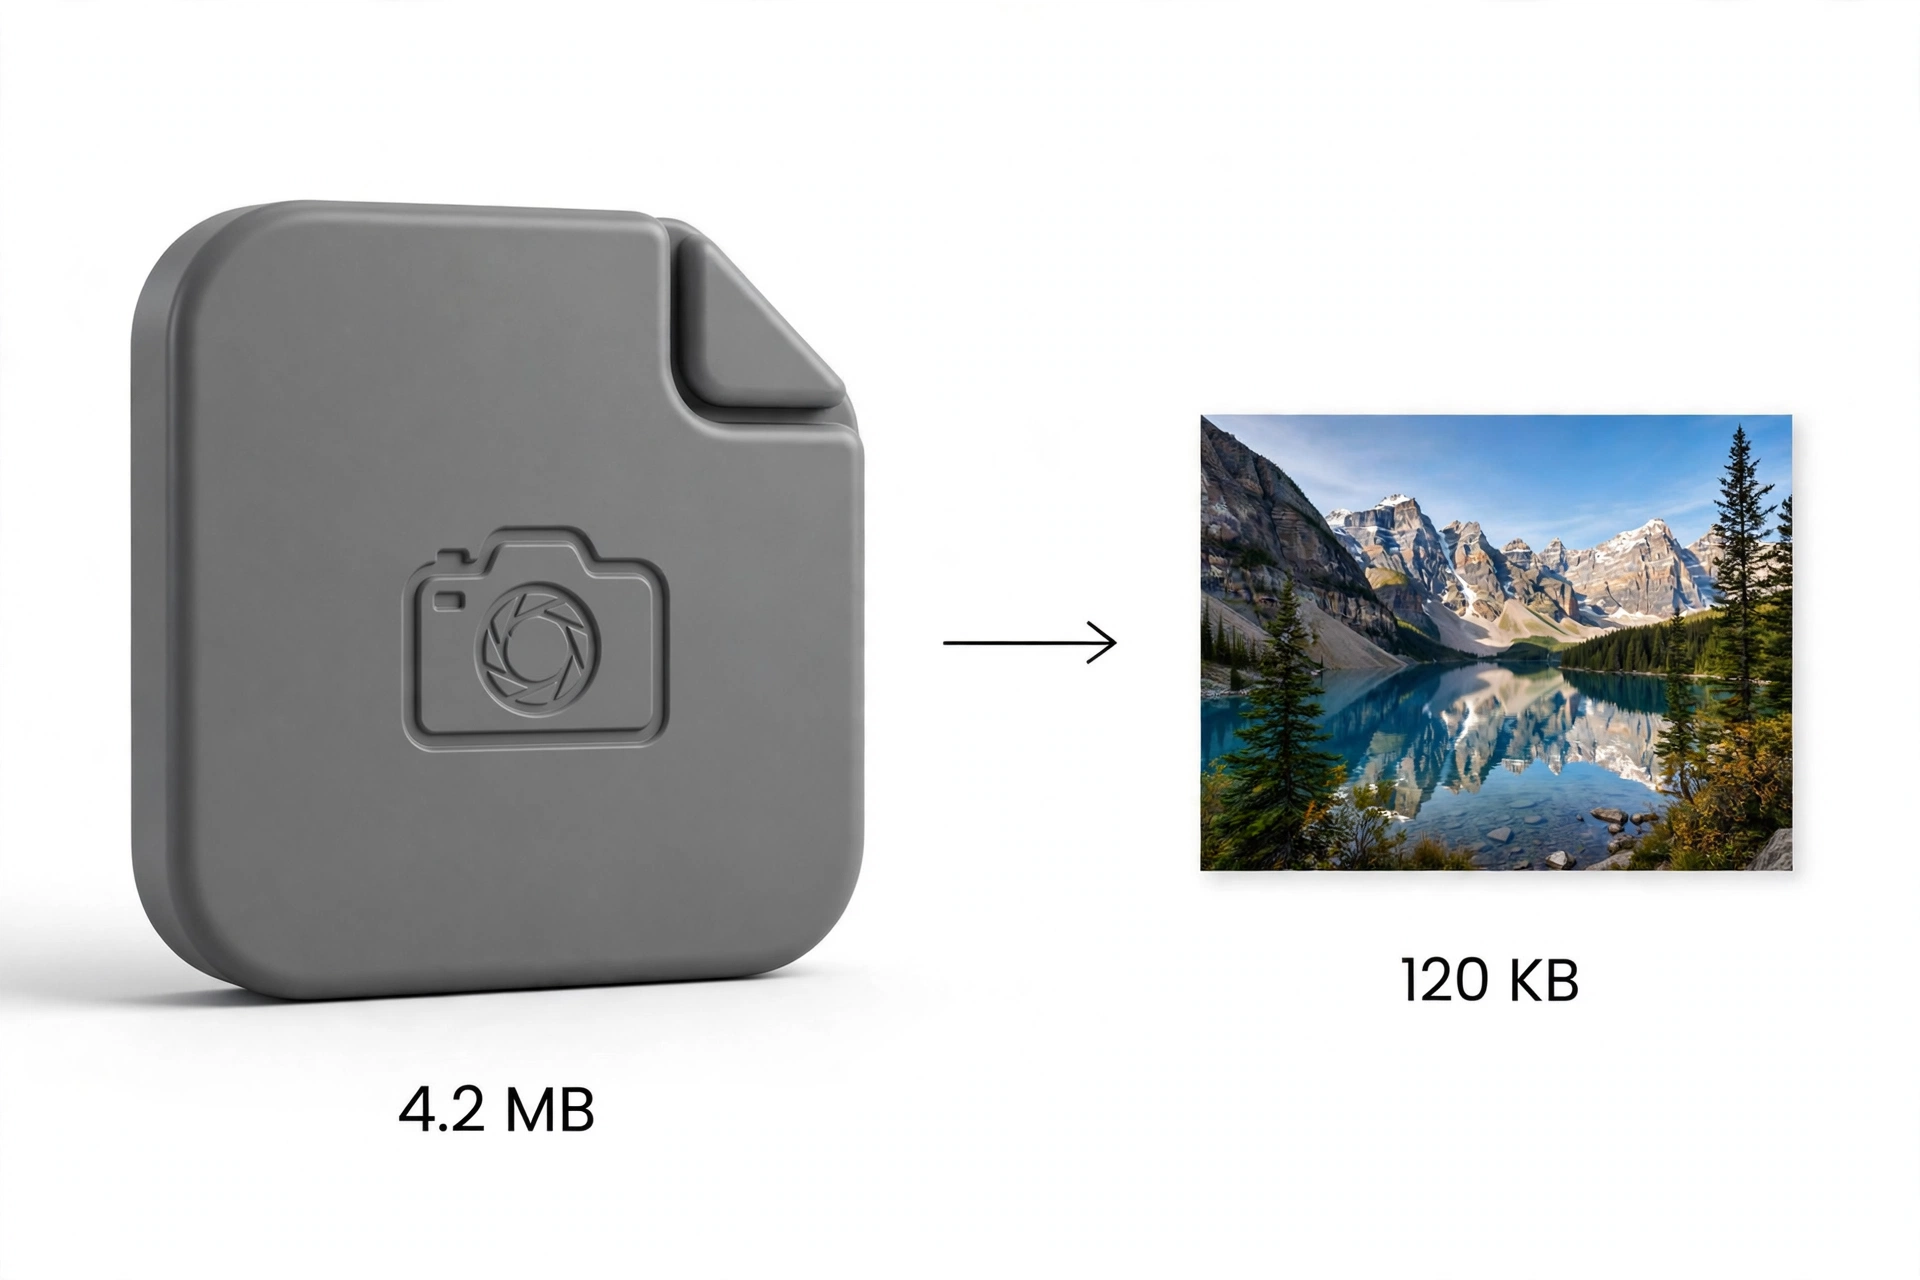
iPhone photos are famously chunky. A single shot in good light can be 4 MB, and Live Photos and Portrait mode shots run even bigger. If you’ve ever tried to attach three photos to an email on your iPhone and watched the send button spin, you know the pain.
The easiest fix is the browser method above — open the Image Compressor in Safari, tap to upload from your Photos library, and download the smaller file straight back to your phone. No app, no subscription, no “free trial” that quietly starts charging you next month.
One more iPhone tip: if you’re sending photos through iMessage or WhatsApp, those apps already compress images automatically. The problem only shows up when you email photos, upload them to a form, or attach them to a job application — exactly when quality matters most. That’s when compressing them yourself, on your own terms, beats letting an app decide for you.
How to Compress an Image for Email
Email is probably the number-one reason people search for image compression. Gmail caps attachments at 25 MB total per message, and most other providers are stricter — Outlook’s default limit is 20 MB, and plenty of work inboxes are set to 10 MB. A few uncompressed photos and you’re over the line before you’ve written a word.
Here’s a practical rule of thumb I use: aim for each photo to be under 500 KB, and ideally under 200 KB. At that size, five or six photos fit comfortably in a single email, they load instantly on the other end, and on a normal screen nobody can tell they were compressed at all.
The steps are the same as above, with one extra consideration. Before compressing, ask yourself whether the recipient actually needs the full resolution. A photo going into a family email or a work report is usually viewed at 1200 pixels wide or less — so resizing it down first, then compressing, gets you the smallest file with the least visible change. If you need to change the dimensions too, the Image Resizer on SavyTools handles that in the same no-install way. For a full walkthrough of the email side of things, I covered it in my guide on how to compress a PDF for email, and the same principles apply to images.
How Much Can You Shrink an Image Without Losing Quality?
This is the question everyone really wants answered, and the honest answer is: it depends on the photo. A detailed landscape with trees and grass everywhere is harder to compress than a simple portrait against a plain background. But as a rough guide, a typical iPhone photo of 4–5 MB compresses to roughly 400–800 KB at 80 percent quality — about an 85 percent saving — with no visible difference on screen. Push to 60 percent and it drops to around 200–300 KB; most people still can’t spot the difference on a phone or laptop, though you might see slight softness if you zoom right in. Below 50 percent is where it starts to show: smooth skies can develop banding, and fine detail gets mushy. Fine for a quick social post, risky for anything you’ll print.
My rule: for anything you’ll look at on a screen, 70–80 percent quality is the sweet spot. For a photo you might print later, stay at 85 percent or above and compress a copy instead of the original.
JPG vs PNG: Which Format Compresses Better?
Quick answer: JPG, for photos. PNG, for graphics. Here’s why.
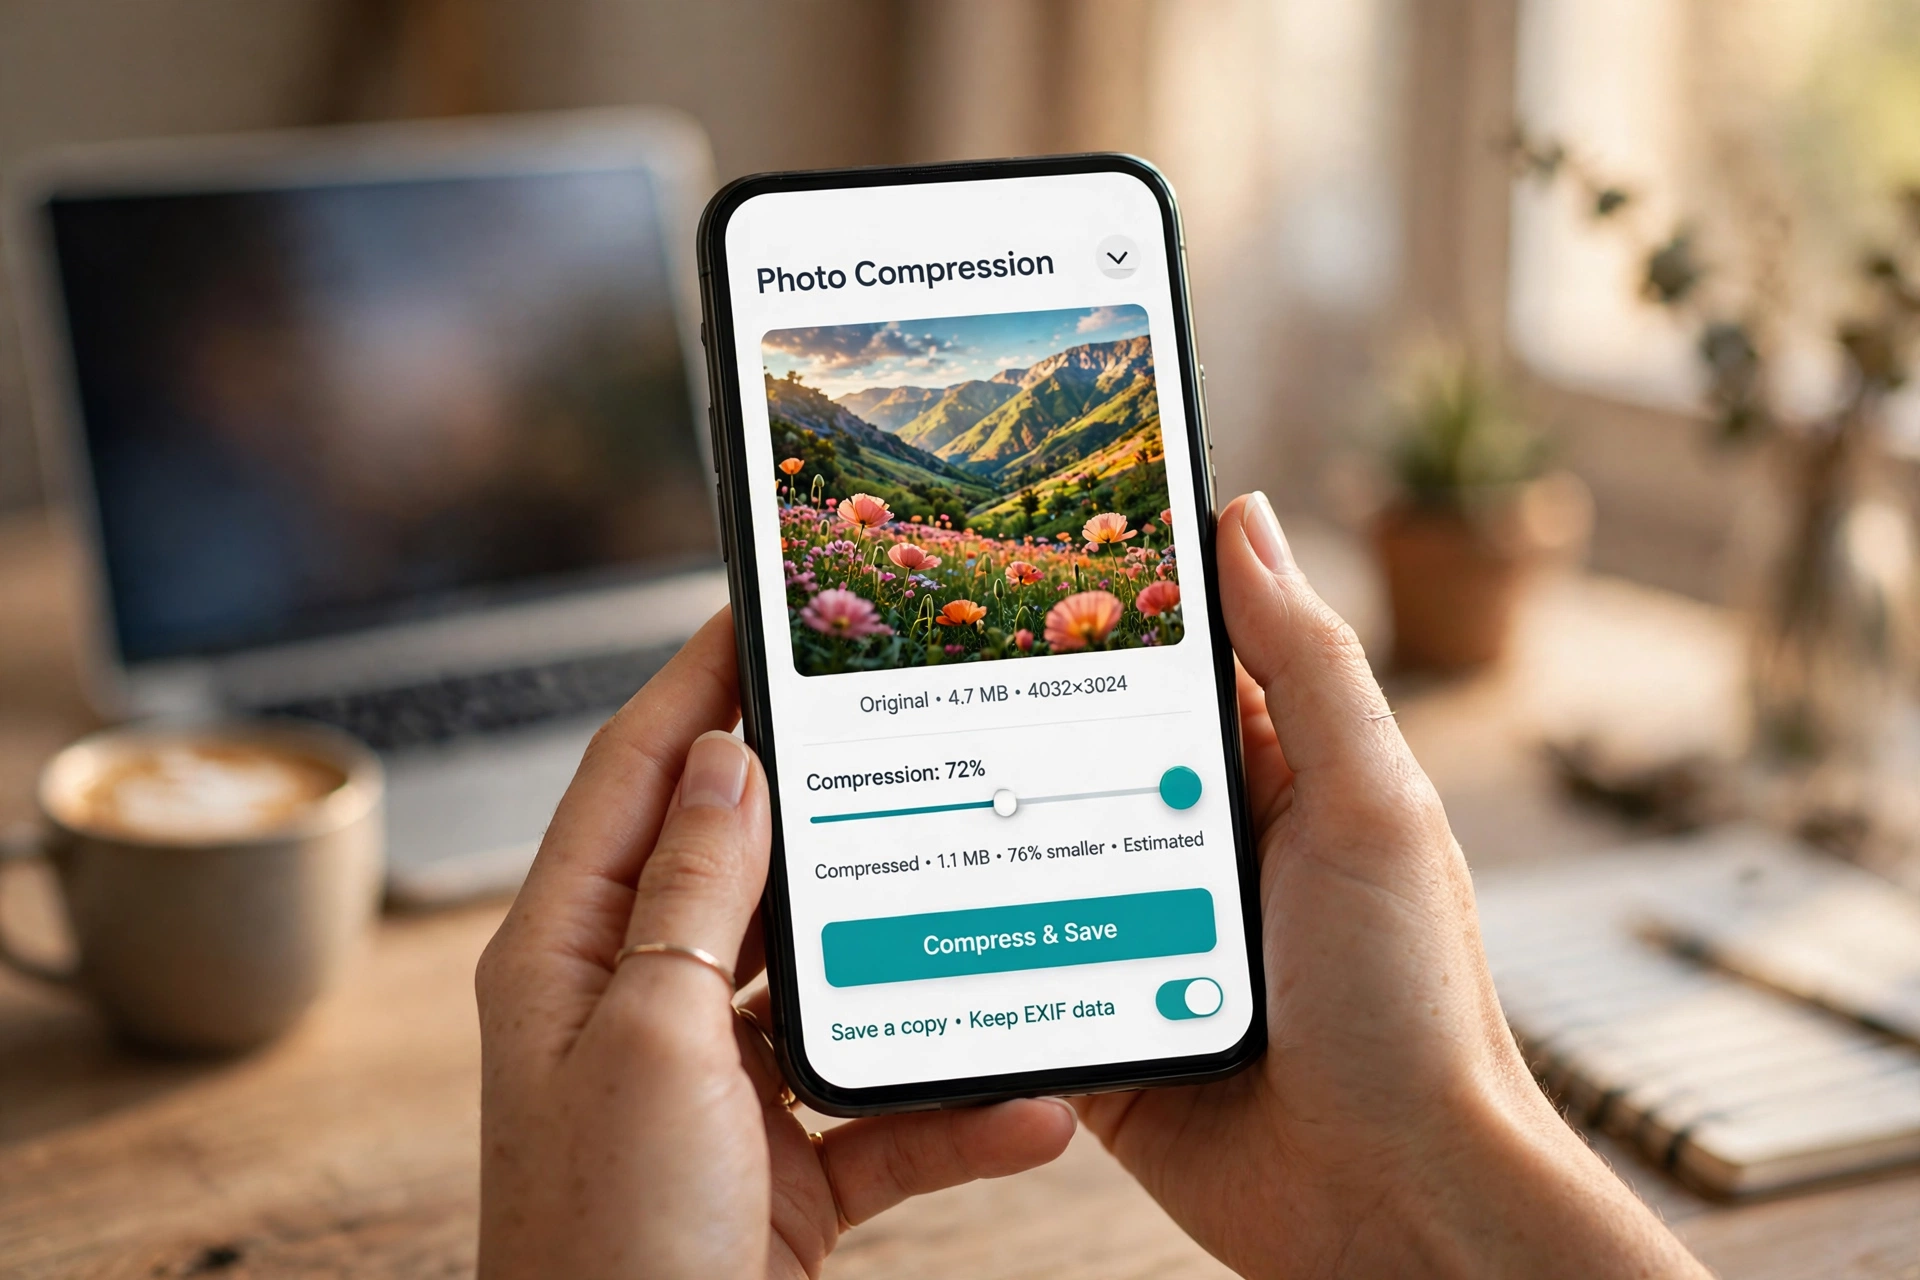
JPG was built for photographs. It uses lossy compression that’s tuned to the way human eyes work, so it can shrink a photo to a tenth of its size while keeping it looking great. PNG was built for crisp edges — logos, icons, screenshots, and images with text. It preserves every pixel exactly, which is wonderful for a logo and terrible for a holiday photo, where a PNG can be three or four times the size of the equivalent JPG.
So if your file is a PNG and it’s a photograph, converting it to JPG before compressing will usually cut the size in half again. If you need to switch formats, SavyTools’ Image Format Converter does the conversion in the browser too. One exception: if your image has transparency — like a logo with a see-through background — stick with PNG, because JPG doesn’t support transparency.
Common Mistakes That Ruin Compressed Photos
Most bad results come from one of three mistakes, and all of them are avoidable.
Compressing the same file over and over. Every round of lossy compression throws away a little more data. Compress a JPG, then compress the compressed copy, then compress that one — by the third round your photo looks like it was painted with a sponge. Always compress from the original.
Compressing after resizing badly. If you shrink a photo’s dimensions in a sloppy way and then compress hard on top of it, the two kinds of damage stack. Resize once, to the size you actually need, then compress once. If you post a lot to Instagram, my guide on how to resize an image for Instagram walks through getting the dimensions right first.
Trusting the file size instead of your eyes. The number in kilobytes is a guide, not a verdict. A 300 KB photo that looks great beats a 150 KB photo with visible artifacts every time. After every compression, open the result and actually look at it — zoom into the detailed parts, check the sky for banding, look at faces. Thirty seconds of checking beats resending an email later.
FAQ: Compressing Images Without Losing Quality
Will compressing an image reduce its quality?
A little, technically — but at sensible settings (70 to 80 percent quality) the difference is invisible to the naked eye on screens. The quality loss only becomes noticeable below about 50 percent, or when you compress the same file multiple times. Always compress from the original and check the result before sending it.
How do I compress an image for email?
Upload the photo to a free browser tool like the SavyTools Image Compressor, choose around 75 percent quality, and download the result. Aim for under 500 KB per photo — that keeps you comfortably inside Gmail’s 25 MB limit even with several photos attached.
Can I compress an image on my iPhone without installing an app?
Yes. Open the Image Compressor in Safari, upload the photo from your library, and save the compressed version back to your phone. Nothing is installed, nothing is uploaded to a server, and it works the same way on Android, Windows, and Mac.
What’s the best image format for small file size?
For photographs, JPG gives the smallest files at good quality. For logos, icons, and screenshots with text, PNG is better because it keeps edges sharp. If your photo is saved as a PNG, converting it to JPG before compressing can cut the size dramatically.
Compressing images is one of those small skills that pays off every week — faster emails, quicker uploads, websites that actually load. Once you’ve done it once, you’ll wonder why it ever felt like a technical job. It isn’t. It’s thirty seconds, a browser, and knowing which slider to trust.
