
How to Convert Image Format: JPG, PNG and WebP (2026 Guide)
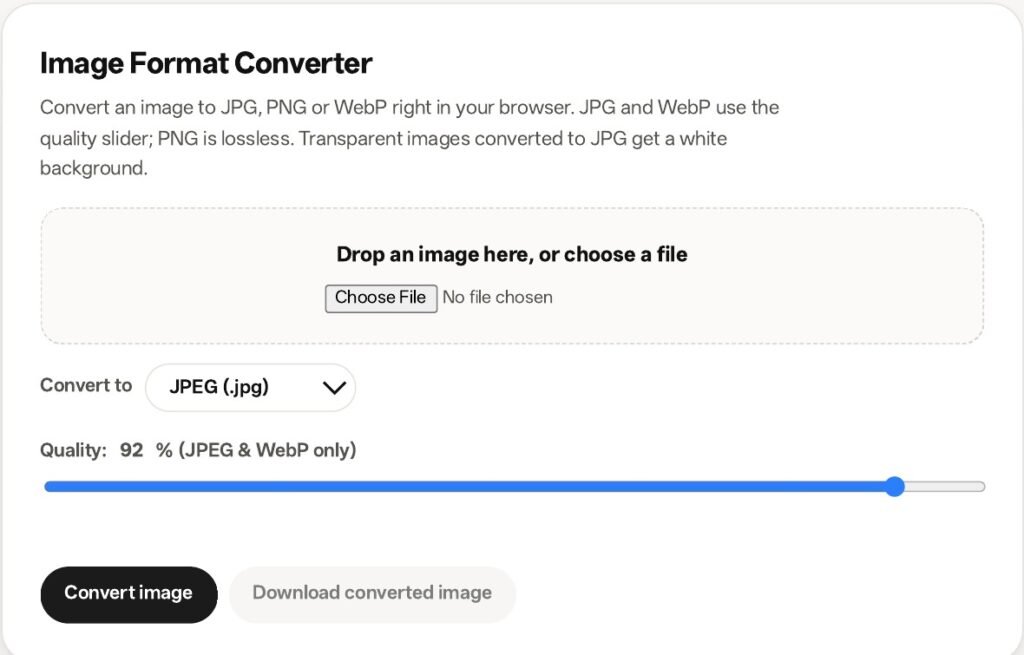
Quick answer: Pick the format for the job first, then convert in your browser in 3 steps. Use JPG for photos that must open anywhere, PNG for logos, screenshots and transparency, and WebP for the web when a smaller file matters. The SavyTools Image Format Converter changes an image between JPG, PNG and WebP right in your browser, with no sign-up and no upload. The quality slider sits at 92% for JPG and WebP, and PNG is lossless, so the slider does not apply to it.
What converting actually changes, and what it does not
Converting an image changes its format, not its picture. The photo you see stays the same photo. What changes is the wrapper around it, and usually the file size. That is the whole job, and it is also the limit of what converting can do.
| What changes | What does not change |
|---|---|
| The file format (JPG, PNG or WebP) | The picture itself |
| Usually the file size | The width and height in pixels |
| The quality, if the new format is lossy | The detail that was already lost |
Keep these three facts in mind before you convert anything:
- Converting never improves a picture. A blurry photo stays blurry in every format.
- Converting a JPG to PNG does not restore detail. The detail was lost when the JPG was first saved, and no format change brings it back.
- Converting alone does not always make a file smaller. A JPG turned into a PNG usually gets bigger, not smaller.
That is also why this guide is different from the Compress Images guide. Compressing shrinks a file in the same format. Converting changes the format. If your only goal is a smaller file, compressing is usually the right move, and the Compress Images guide covers it. And resizing is a third job again: it changes the dimensions. Converting keeps the dimensions and changes only the format.
Which format should you pick?
Pick the format for the job first, and the conversion becomes a one minute task. Pick the format last, and you will convert the same image twice.
| Format | Transparency | Lossy or lossless | File size | Where it is accepted | Best job |
|---|---|---|---|---|---|
| JPG | No | Lossy | Small | Everywhere | Photos that must open anywhere |
| PNG | Yes | Lossless | Large for photos | Everywhere | Logos, screenshots and transparency |
| WebP | Yes | Lossy or lossless | Smallest | All modern browsers, but not some forms and print shops | Website images where a smaller file matters |

In short:
- JPG is the safe default for photos. Every device, app and website opens it. It has no transparency, and every save loses a little quality, so do not save the same JPG over and over.
- PNG is the right pick when the picture must stay sharp or see through. Logos, screenshots, text in images and anything with a transparent background belong in PNG. For photos it is usually the largest file of the three.
- WebP is the best pick for the web. Google reports lossless WebP files are about 26% smaller than PNG, and lossy WebP about 25 to 34% smaller than JPG, at similar quality. It keeps transparency too. The only catch is the destination: some forms and print shops still reject it, so check before you send one.
If you are still unsure, use this rule: photo for sharing, JPG. Logo or screenshot, PNG. Image for your own website, WebP.
How to convert in 3 steps with the SavyTools tool
The Image Format Converter runs entirely in your browser. Your images never leave your device, so it is safe for private photos and client work alike. There is no sign-up and no server upload.
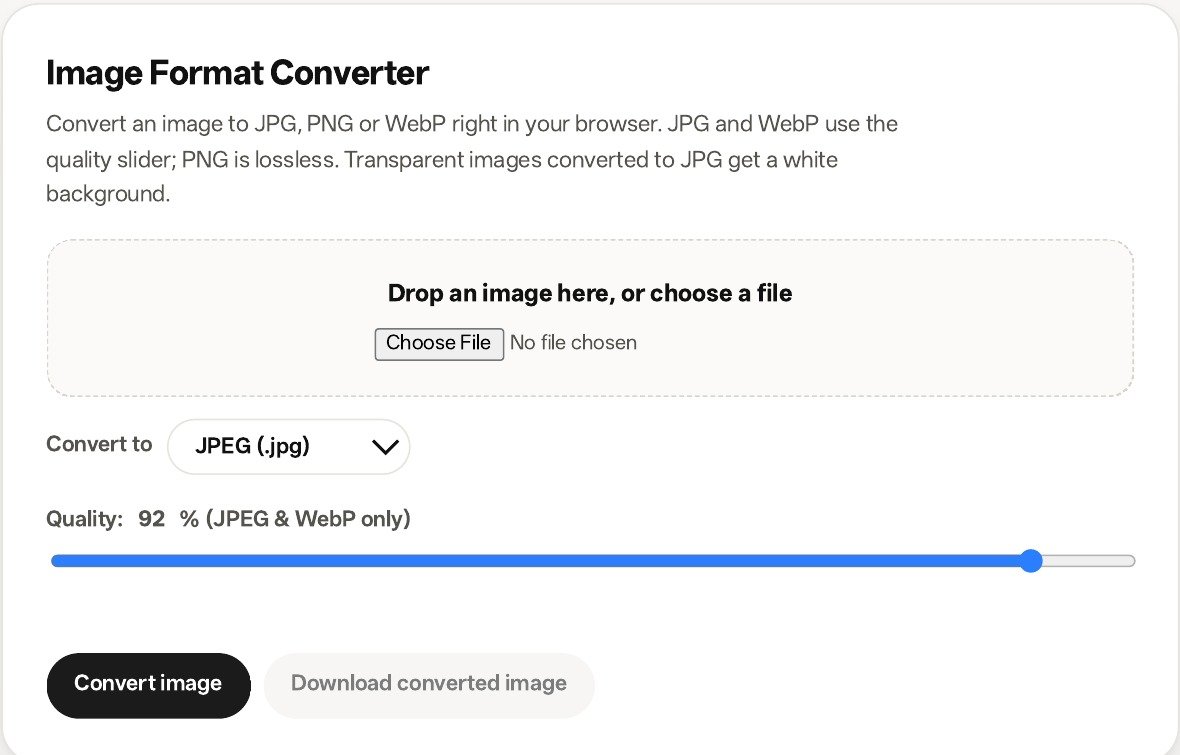
Step 1: Drop your image in. Open the converter and drop the image into the panel, or pick it from your device. One image at a time.
Step 2: Pick the output format. Choose JPEG, PNG or WebP. Use the picker table above if you are not sure which one fits the job.
Step 3: Set the quality if it applies, then download. The quality slider sits at 92% and applies to JPG and WebP only. PNG is lossless, so it ignores the slider. Click download and the converted image saves instantly.

I tested both conversions in the live tool at 92% quality, with real files.
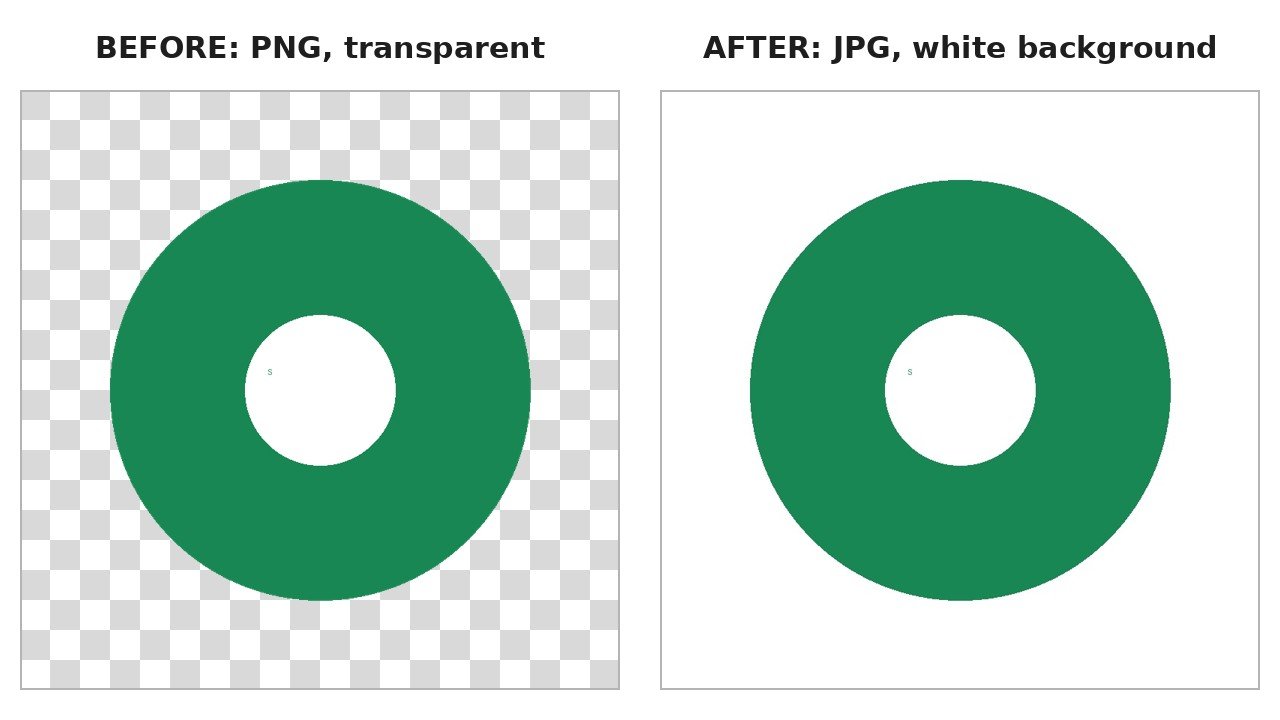
- PNG with transparency to JPG: a 6.8 KB PNG (a green circle with a white centre on a transparent background, 800 by 800) converted to a 22.7 KB JPG. The transparent areas became a solid white background, as the tool page claims. I checked the tool’s own code: the converter fills the canvas white before drawing the image when the output is JPEG, and I verified the real converted file, its corners read pure white. The file actually grew, from 6.8 KB to 22.7 KB, because JPEG at 92% is inefficient for a simple flat-colour graphic.
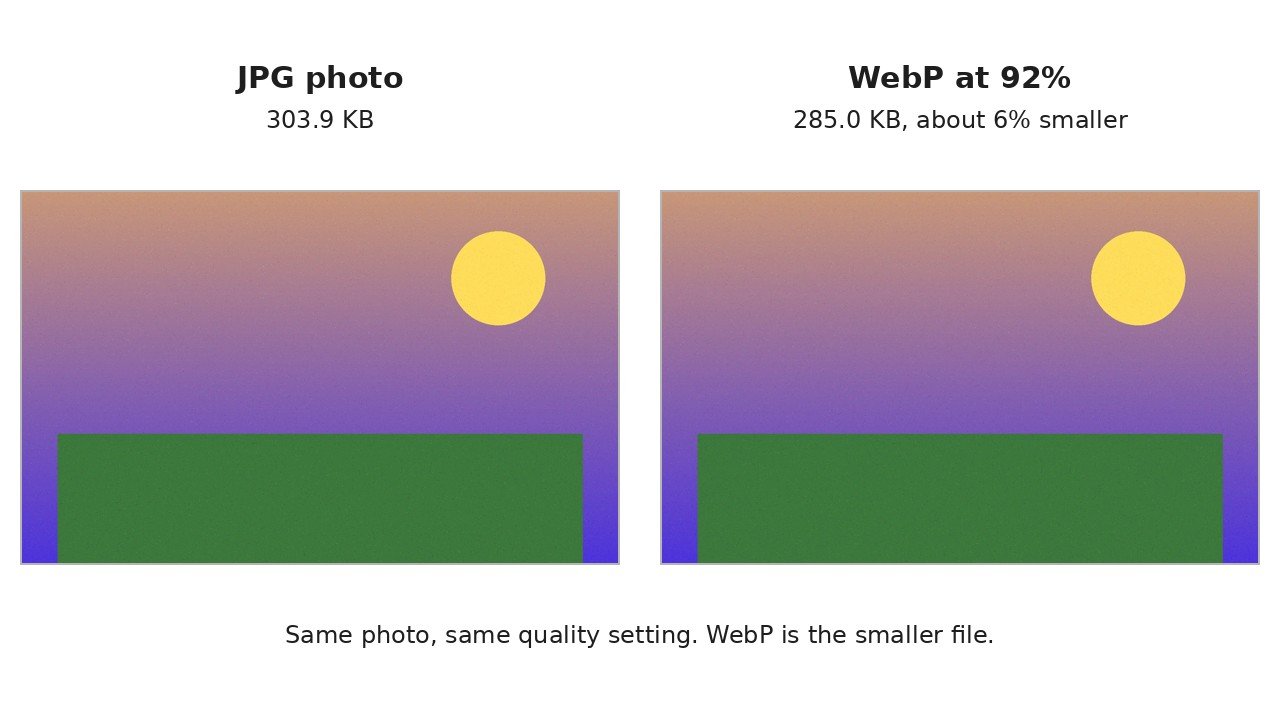
- JPG to WebP at 92%: a 303.9 KB JPG photo (1600 by 1000) converted to a 285.0 KB WebP, about 6% smaller, with no visible difference.
A note on quality: 92% is a good default for JPG and WebP. It keeps the picture looking the same while cutting the file size well below 100%. Dropping the slider much lower saves a little more space but the damage starts to show, first in smooth areas like skies and skin. If the picture will be printed or edited again, keep the quality high or use PNG.
The three traps
Most format conversions that go wrong fail in one of three ways. All three are easy to avoid once you know them.
Trap 1: Transparency becomes white on JPG. JPG has no transparency. If you convert a PNG logo with a transparent background to JPG, the see through parts become a solid white background. The logo still works on a white page, but it looks wrong on any other colour. Keep PNG or WebP if the picture needs transparency.
Trap 2: JPG to PNG only makes the file bigger. A JPG is already compressed with lossy compression. Turning it into a PNG keeps every remaining pixel and stores it without loss, so the file grows, sometimes to several times the original size, and the picture looks exactly the same. Never convert JPG to PNG to “improve” a photo. It only costs storage.
Trap 3: WebP is rejected by some forms and print shops. WebP works in all modern browsers, and that covers most websites. But some upload forms, older software and print shops still accept only JPG or PNG. Before you send a WebP somewhere that matters, check what the destination accepts. If it is not listed, send a JPG instead.
When not to convert at all
Converting is a tool, not a habit. Skip it in these three cases:
- The destination already accepts the format you have. A JPG that will be printed or emailed does not need to become a WebP first. Converting it adds a step and, for a lossy format, a little more quality loss for no benefit.
- Your only goal is a smaller file. Converting changes the format, and it may or may not shrink the file. If the format is already right, run the result through the Image Compressor instead. That is what it is built for, and the Compress Images guide walks through it.
- The source is already a low-quality JPG. Every lossy conversion throws away a little more detail. Converting a heavily compressed JPG to WebP, or back to JPG again, only adds another round of damage. Use the original file if you still have it, or accept the quality you have.
One more case: if you only need the picture smaller on screen, that is resizing, not converting. The Image Resizer changes the dimensions, and this guide does not cover it.
Does converting JPG to PNG improve quality?
No. A JPG has already lost detail to lossy compression, and converting it to PNG cannot bring that detail back. The picture looks the same and the file usually gets much bigger. Convert JPG to PNG only when you need PNG for another reason, such as editing without further loss.
Does PNG to JPG lose transparency?
Yes. JPG has no transparency, so transparent areas become a solid white background. If the picture needs to stay see through, keep it as PNG or convert it to WebP, which supports transparency.
Is WebP supported everywhere?
WebP works in all modern browsers, including Chrome, Edge, Firefox and Safari. That covers nearly every website. But some upload forms, older programs and print shops still accept only JPG or PNG, so check the destination before you send a WebP where it matters.
Can I convert HEIC with this tool?
The Image Format Converter page lists JPG, PNG and WebP only, and it does not confirm HEIC as an input, so do not count on it here. If your photo is in HEIC, convert it to JPG first with the separate HEIC to JPG Converter, then use the format converter from there.
Is there a file size limit?
No fixed limit is stated on the tool page. Conversion runs in your browser, so very large images depend on your device’s memory. A normal photo from a phone or camera converts without trouble.
Does the file leave my device?
No. The conversion runs entirely in your browser, and the image is never uploaded to a server. That is why the tool is safe for private photos and client work.
Related reading: the PDF to JPG guide covers turning PDF pages into images, a different job from turning one image format into another.
